Elevating Interiors: A Comprehensive Guide to Cove Lighting with LED Strips
- By Ledrise Led Professional
- Apr 7, 2025

In the realm of interior design, lighting serves as both a functional necessity and an artistic tool. Among the myriad lighting techniques, cove lighting stands out for its ability to infuse spaces with a subtle, ambient glow, enhancing architectural features and creating an inviting atmosphere. This guide delves into the nuances of cove lighting using LED strips, offering insights into its benefits, design considerations, and installation techniques.
Understanding Cove Lighting
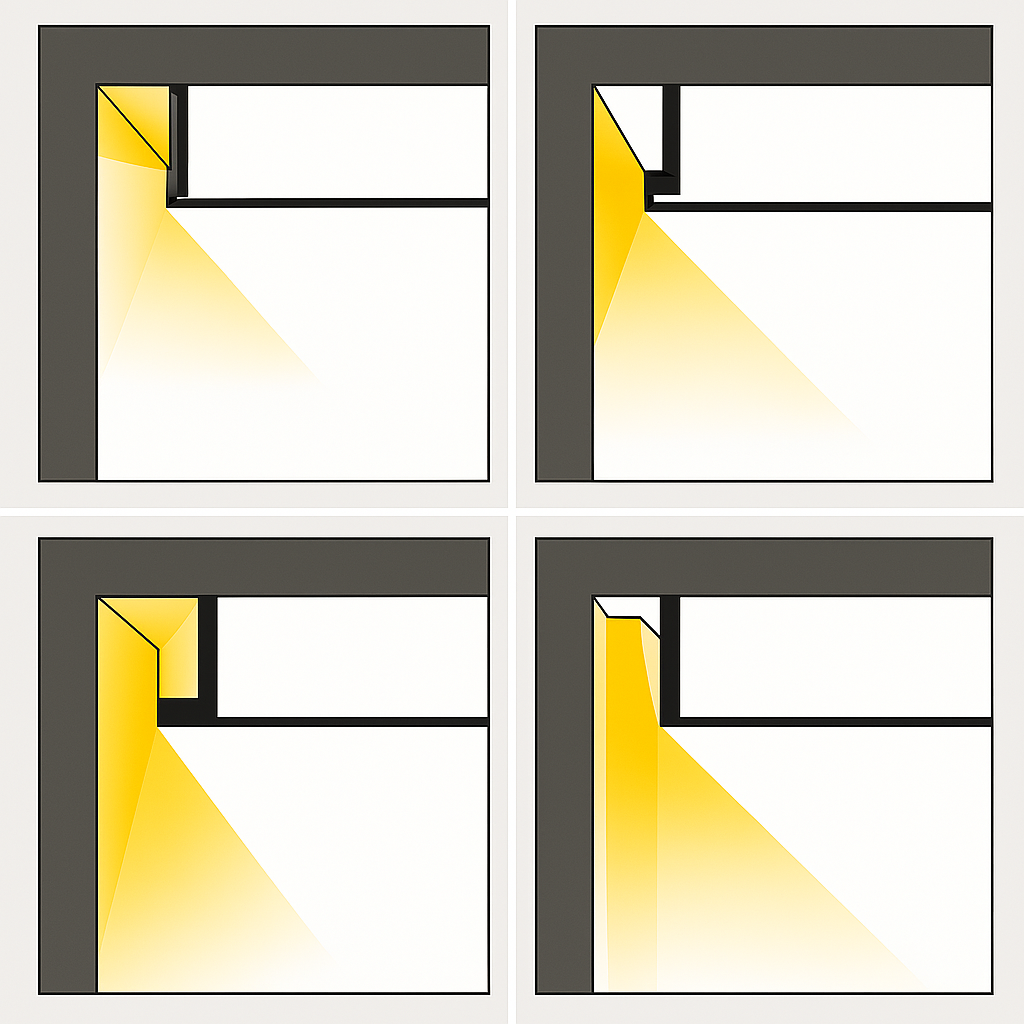
Cove lighting is an indirect lighting method where fixtures are concealed within recesses, ledges, or valances, directing light towards ceilings or adjacent walls. This technique not only provides a gentle, diffused illumination but also accentuates the room’s architectural elements without the intrusion of visible fixtures.
Advantages of LED Cove Lighting
The advent of LED technology has revolutionized the use of cove lighting, LED cove lights being a versatile and energy-efficient lighting solution suitable for a wide range of interior spaces, including living rooms, bedrooms, kitchens, lobbies, restaurants, and retail spaces.
The integration of LED strips into cove lighting designs brings forth numerous benefits:
•Energy Efficiency: LEDs consume significantly less power than traditional lighting sources, leading to reduced energy bills and a smaller carbon footprint.
•Longevity: With lifespans extending up to 100,000 hours or more, LED strips diminish the frequency and cost of replacements.
•Design Flexibility: The slim and flexible nature of LED strips allows them to conform to various architectural contours, facilitating innovative and customized lighting solutions.
•Color Variety and Control: Available in a spectrum of colors and compatible with dimming systems, LED strips enable precise control over the ambiance and mood of a space.
Factors to Consider for Cove Lighting Installation
Several factors need to be considered when installing LED cove lights, such as the location of the cove, the types of LED strips to use, and the color temperature of the light. Working with a professional lighting designer or electrician can ensure that the installation is done correctly and efficiently. Here are some tips to achieve the best results with cove lighting:
Placement, Positioning and Energy Efficiency:
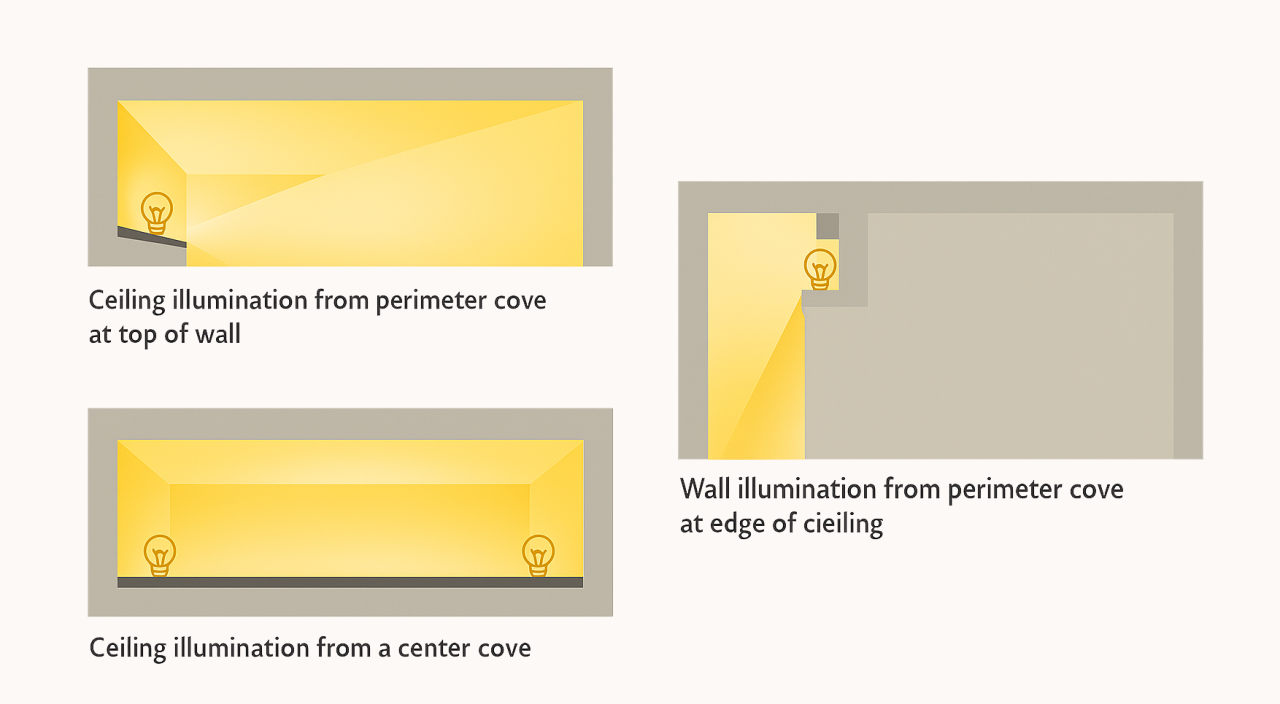
The location of the cove is a crucial factor to consider, as it can affect the direction and spread of the light, which can impact the overall light output, look, and feel of the space. Cove lighting can be installed in various locations, including along the ceiling, walls, or even in recessed areas.
Choose LED modules or strips with high-energy efficiency, at least 100 lm/w, and place them within the cove light to ensure that most of the emitted light reaches the reflective surface, such as a white wall or ceiling, that directs it into the interior.
Reflective Surfaces:
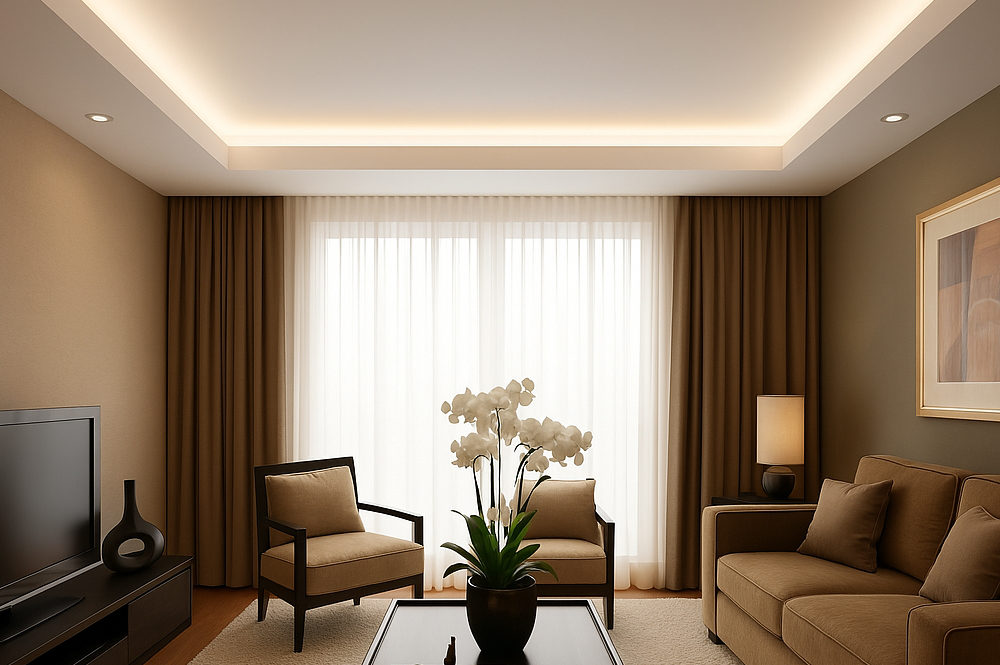
The materials and colors of walls and ceilings impact the diffusion and intensity of light. Lighter surfaces enhance reflectivity, amplifying the brightness and reach of the cove lighting.
LED strip brightness
The purpose of the lighting will determine the type of light source to be used. The illumination of coves can serve various purposes, including guiding people, highlighting architectural elements, or providing ambient, general, or workplace lighting. The following luminous flux per meter for a LED strip can serve as a useful orientation guide:
Ambient light around objects and furniture: up to 1000 lumens per meter (300lm per foot)
Light under a kitchen cabinet, behind a headboard, around a shelving unit or beneath a floating vanity. The cove is decorative and the room is lit by something else.

LED Strips for furniture ambient Lighting
The 3-channel LumiBar can create dynamic effects with white or colour Nichia LEDs, which suits furniture ambient lighting. With the MultiBar system, installation is straightforward and affordable thanks to the plug and play connections.
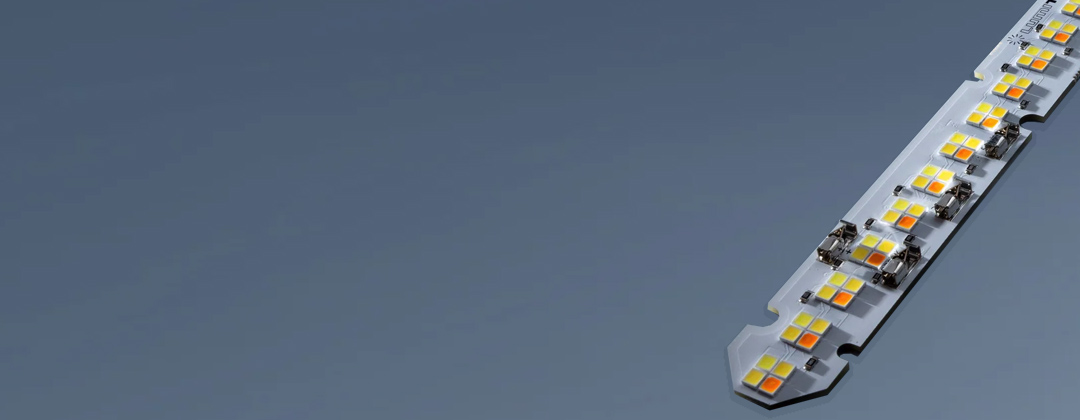
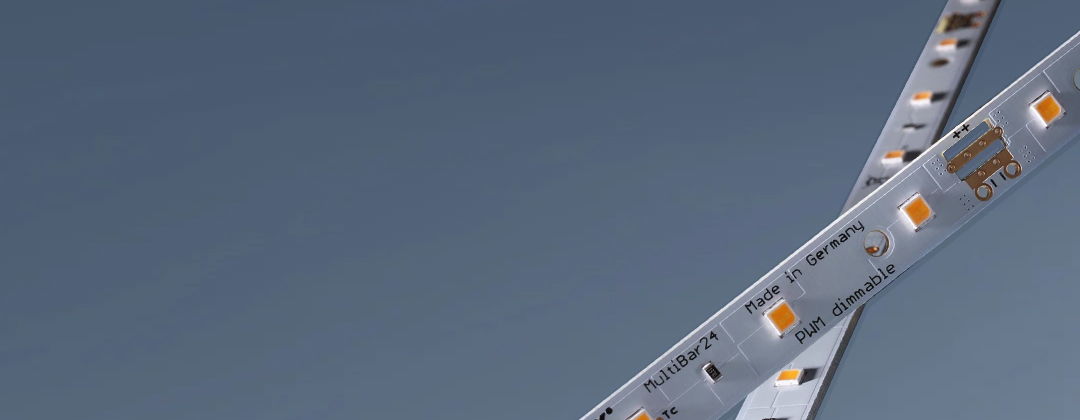
500x10 mm LED strip, Plug & Play System
White LEDs 1800-7800K, CRI80-99
24V Constant Voltage
Ambient light for rooms: up to 2000 lumens per meter or 600 lm/foot.
The cove provides the general atmosphere of the room and is supplemented by a central fixture or lamps. This is the most common residential case.

Linear LED Strips & Modules for room ambient lighting
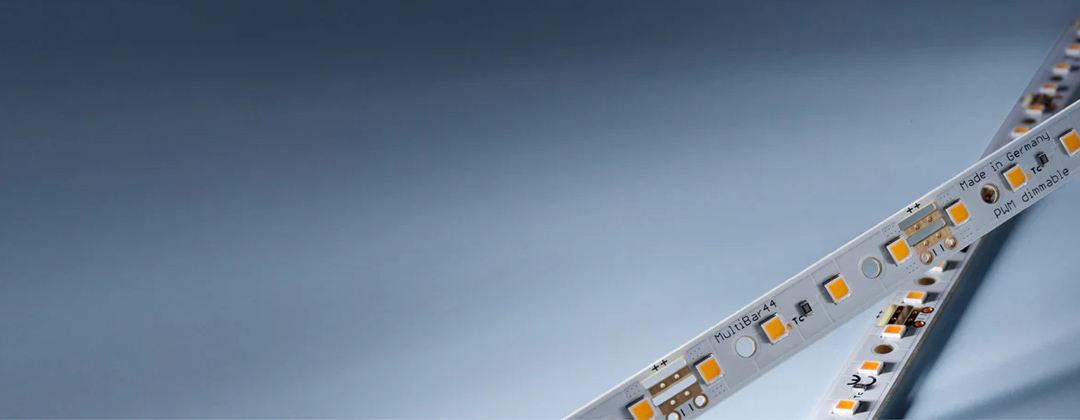
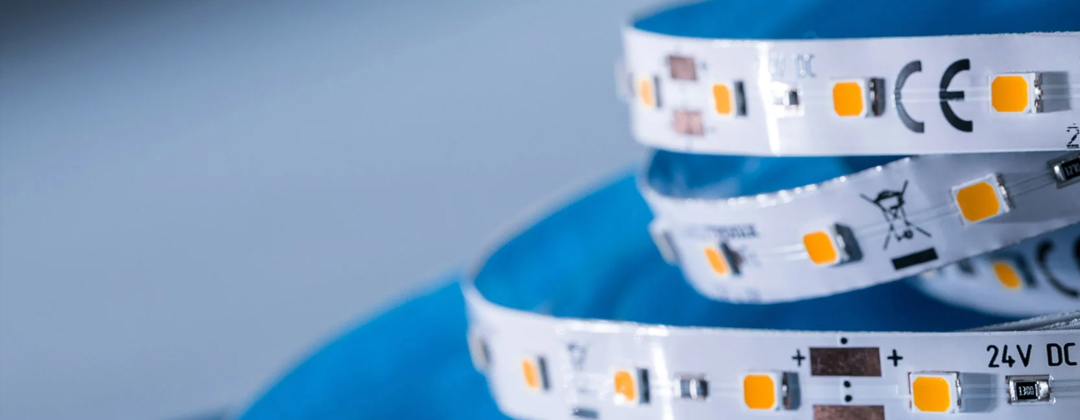
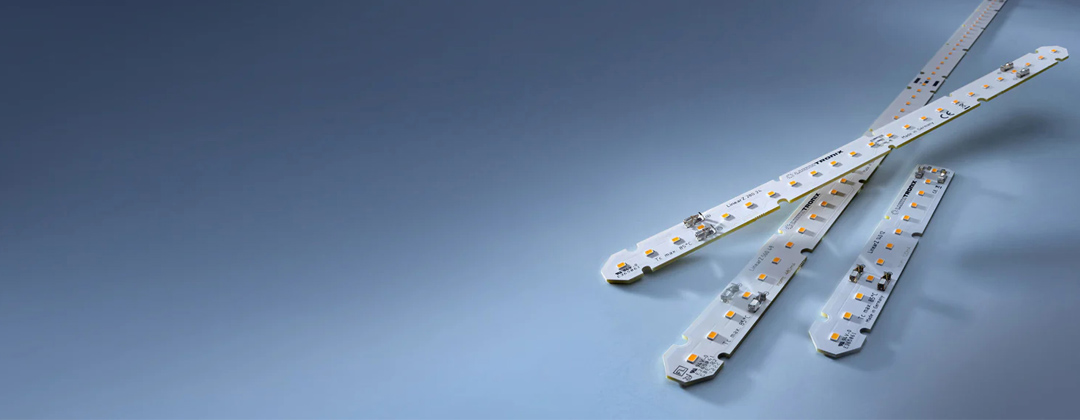
Our range of customizable MultiBar or LumiFlex LED strips features Nichia LEDs that can deliver the higher light output required for room ambient lighting. Manufactured at our state-of-the-art facility in Germany, these LED systems embody precision and innovation.
General lighting via lines of light: up to 3000 lumens per meter (900 lm/foot).
The cove is the main light source for the room. This needs both a high-output strip and a well-made pocket, because at this level any flaw in the geometry becomes obvious.

For a living room of 20 m² (215 ft²) with 2.5 m (8.2 ft) in height and the purpose of general lighting, a suggestion for the length of cove light is:
- Lines of light with LED strip 1000 lm/meter (300 lm/ft): at least 40 meters (130 ft) total length
- Lines of light with LED strip 2000 lm/m (600 lm/ft): at least 20 meters (65 ft) total length
- Lines of light with LED strip 3000 lm/m (900 lm/ft): at least 10 meters (33 ft) in total length
LED Strips for General Lighting
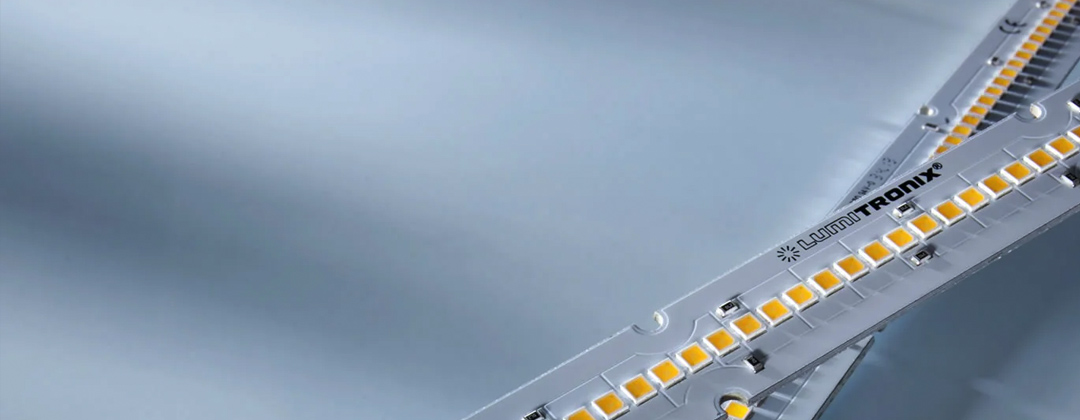
The customizable MaxLine or LumiBar LED strips feature tightly spaced Nichia LEDs that provide the very high luminous flux for room general lighting and meet the highest of project standards.
LED strip Color temperature
Colour temperature, measured in kelvin, describes the tone of white light. It runs from the warm orange of sunrise at around 2000 K to the cool blue-white of midday at 5500 to 6500 K.

Warm white between 2700 K and 3000 K is calming and suits bedrooms and living rooms. Cooler white between 4000 K and 6500 K feels more alert and suits kitchens, home offices and workspaces.
There is a good reason to consider a tunable white cove rather than picking one fixed temperature. Bright, cooler light during the day supports alertness, and dim, warm light in the evening supports winding down for sleep. Indirect light from a cove is unusually well placed to do this, because light arriving from above and from bright upper walls reaches the part of the eye most involved in these effects. A cove that runs cool and bright in the morning and warm and low at night is closer to how daylight behaves than any fixed installation can be.
Our tunable white LED strips and modules are built for exactly this.
We cover the subject in more depth in our guide to choosing the right colour temperature.
LED strip Color Rendering Index (CRI)
The Colour Rendering Index measures how accurately a light source shows colours compared with natural daylight, on a scale up to 100. Low-CRI light makes skin, wood and fabric look wrong in a way people notice without being able to name.
Because cove light bounces off a large surface and fills the whole room, its colour quality affects everything you see. It is not a place to economise.
We recommend CRI90 as a minimum for any living or working space, which the Nichia H6 high-efficacy LEDs deliver without a significant efficiency penalty.

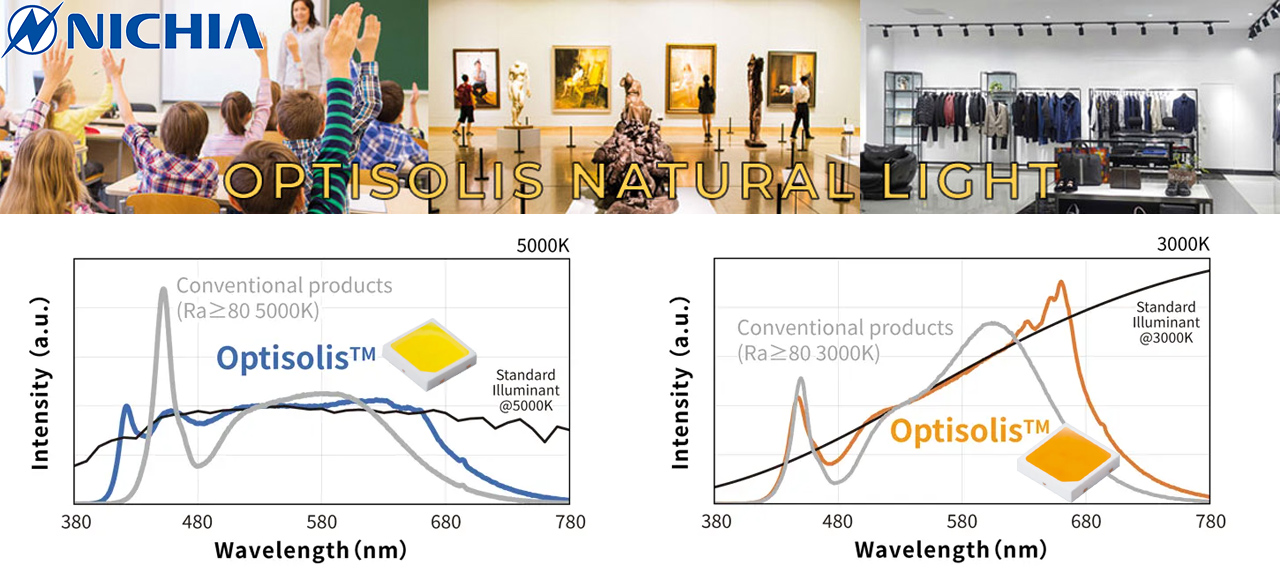
For the best light quality, the LED strips featuring with Nichia Optisolis technology have a white light with CRI99 and a similar spectrum as daylight.
For more insights about CRI read our article: Recommended CRI index levels for various lighting projects
LED Strips installation
The light sources used for cove lighting must be easily installed over long distances with the least number of auxiliary items such as wires, connectors, screws, or transformers. Connect the LED strips to an appropriate power supply, adhering to electrical safety standards. If dimming capabilities are desired, integrate compatible dimmers or controllers at this stage.
Colour consistency: the question to ask before you buy
CRI tells you how well a light shows colours. It tells you nothing about whether two metres of the same strip are the same shade of white as each other. That is a separate specification, and for a long continuous cove it matters just as much.
The measure is SDCM, sometimes called MacAdam steps. It describes how far individual LEDs can drift from the target colour. Lower is tighter:
- 2 SDCM — differences only a trained eye would spot under controlled conditions.
- 3 SDCM — small differences may be visible, and this is the sensible minimum for a continuous run.
- 5 to 7 SDCM — common in cheap general-purpose strip, and clearly visible when two sections sit end to end on the same ceiling.
So when comparing quotations, ask for the SDCM figure. If a supplier cannot tell you, that is itself an answer.
Two practical points follow from this:
- Order the whole run in one go. Even a good manufacturer produces slightly different batches. A cove assembled from two orders placed months apart can show a visible change in tone at the joint.
- Buy spares at the same time, from the same batch. Keep them with the building documentation. A repair made years later with whatever is available will not match.
LED Lifetime, Color Shift and Lumen Maintenance
The LED light sources should have a long lifespan, minimal color shift over time, and excellent lumen maintenance, especially for installations with considerable length. If the brightness of the light source fades too soon, or the color temperature changes, the total replacement of the installation could be the only solution for uniform lighting.
For example, if "LEDs 1" are used in the installation and the light changes as in the image on the right, replacing only some sections with "LEDs 2" will exacerbate the lack of uniformity, as in the image below.

A "rainbow" of shades of white is generally not desirable. Replacing parts of an installation can lead to such an outcome.

Power, wiring and installation
Cove runs are long, which introduces problems that short installations never encounter.
- Size the driver above the load. A driver running permanently at its full rating runs hot and fails early. Allow around 20 per cent headroom over the calculated load.
- Leave the driver accessible. This is the one that causes genuine expense later. The driver will fail before the LEDs do. If it is sealed above a plastered ceiling, replacing it means opening the ceiling. Put it in a ventilated, reachable location and note where it is.
- Feed long runs from both ends. On a low-voltage strip, a long single-ended run loses voltage along its length and the far end is visibly dimmer. For runs beyond a few metres, feed from both ends or split into segments with their own feeds. Constant-current systems such as LumiBar avoid this problem by design.
- Cut only on the marked cut points, and never crease a flexible strip at a corner. A creased strip may work on the day and fail months later. Use a corner connector or bend it around the profile's minimum radius.
- Test the full run before the ceiling closes. Power up every section and look at it from the real viewing positions. This takes ten minutes and it is the only chance you get.
LED light dimming and control
For cove lights used for general lighting, LED strips that provide high levels of illumination are recommended. However, there may be times when dimmer light is needed, which is why installing a dimming option is essential. Dimming LED strips require both the LED strips and the transformer to be dimmable. Light intensity can then be controlled via an external dimmer, such as a rotary or push-button wall switch, remote control, smart building control signal, or an app on the phone or tablet. It is recommended to purchase the type of dimming control at the same time as the transformer and the LED strip. Dimming is best considered during the design stage so that the electrical installation is made accordingly.
Currently, a great choice is wireless dimming control via Casambi compatible products, an ecosystem with user-friendly app for control, with many features, excellent privacy controls and many online resources, such as how-to guides.
For selecting the right LED strips for cove light, there are further few factors to keep in mind. One is the color temperature of the LED lights, which can impact the ambiance of a space. Briefly, a warm light (around 2700-3000 Kelvin) is often used in residential settings to create a cozy and inviting atmosphere, while a cooler light (around 4000 Kelvin) is more commonly used in commercial settings to create a bright and crisp feel. For a complete guide about what LED color temperature to choose, check out our blog article "Recommended CRI color index for different lighting projects".
Dimming and flicker
Cove lighting is dimmed more than any other kind of lighting in a home. Many LED drivers produce visible flicker or a stroboscopic effect, and most of them produce far more of it when dimmed low than at full output. Since a cove spends most of its life dimmed low, this is exactly the wrong way round.
Flicker causes eye strain, headaches and a vague sense that a room is uncomfortable without anyone identifying why. It also ruins video, which matters more than it used to in home offices.
Leading-edge, or TRIAC, wall dimmers are a frequent cause. They were designed for incandescent lamps. Pairing one with an LED driver commonly produces visible flicker and a limited dimming range. A trailing-edge dimmer with a compatible driver, or a dedicated LED control system, is the reliable route.
If this is a commercial project
Everything above is aimed at homes and small fit-outs, where a careful specification and good components will get you a comfortable result without formal calculation.
Larger commercial projects are a different exercise. The European standard EN 12464-1 sets minimum light levels for walls and ceilings in workplaces, along with a maximum brightness for indirectly lit ceilings, and specifies the surface reflectances a design should assume. Meeting those requirements is verified by calculation, using software such as DIALux or Relux, before anything is built.
If your project falls into that category, work with a lighting designer. We supply photometric data files for our products so they can be modelled accurately, and we are happy to provide them on request.
A short checklist
- Plan the cove as roughly half to two-thirds of the room's light, not all of it.
- Give the pocket enough depth and setback that the strip is invisible from every seat in the room.
- Set the cove around 200 mm below the ceiling so the light has room to spread.
- Keep 300 mm clear at inside corners and stop short of end walls.
- Flat white inside the pocket, matte light paint on the ceiling.
- Choose at least CRI90 and ask for 3 SDCM
- Buy the whole run and its spares in one batch.
- Mount on aluminium profile. Size generously and dim, rather than running flat out.
- Size the driver with headroom and leave it accessible.
- Specify dimming at design stage
- Test the whole run before the ceiling is closed.
Related articles:
Recommended CRI color index for different lighting projects

What LED Color Temperature to choose for a project, from 2700K to 6500K